🤖 How to Integrate BotPress Bot into Next.js 13 | 🚀 Step-by-Step Guide!
By Johannes Hayer

- Published on
Sharing
🍕 Get the code here:
https://github.com/XamHans/botpress-nextjs
⛔ Make sure that your bot is deployed! (https://www.youtube.com/watch?v=PjPwrxLfWu4)
📚 Key Steps Covered:
0.🔗 Clone the repo with: git clone https://github.com/XamHans/botpress-nextjs.git
- 📁 cd into the folder and install the dependencies with yarn install
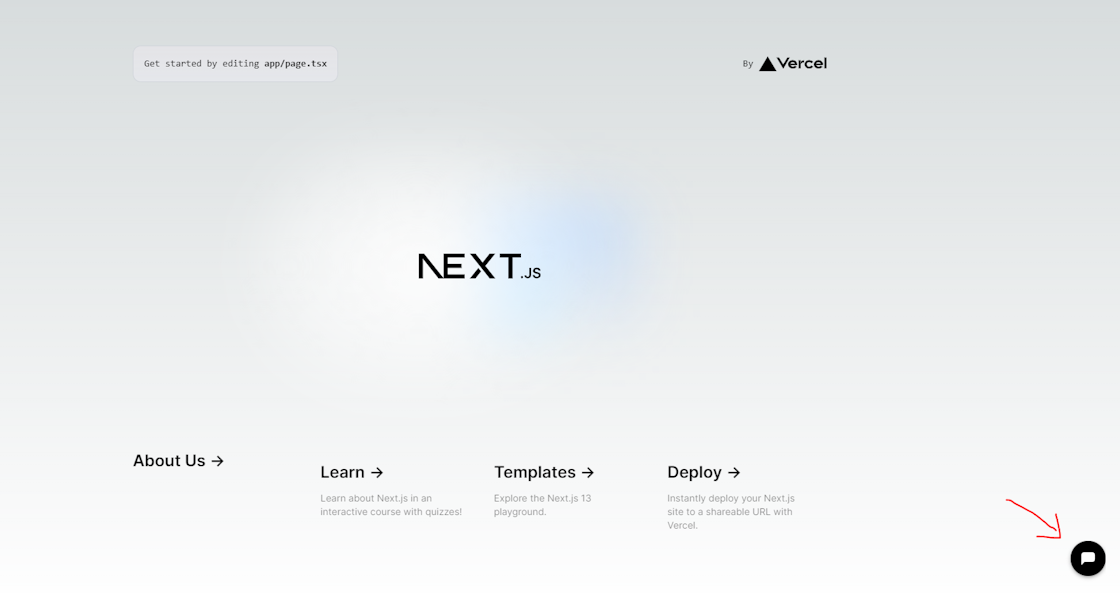
- 💻 start the application with yarn dev
- 📝 get the Botpress Webchat Snippet from botpress website

- 🧩 Navigate to the layout.tsx file. In the head section use the Script Component to init botpress

<Script
          src="https://cdn.botpress.cloud/webchat/v0/inject.js"
          onLoad={() => {
            initBotpress();
          }}
        />
const initBotpress = () => {
    window.botpressWebChat.init({
      composerPlaceholder: "Chat with bot",
      botConversationDescription:
        "This chatbot was built surprisingly fast with Botpress",
      botId: "<YOUR_BOT_ID>",
      hostUrl: "<YOUR_BOT_HOST_URL>",
      messagingUrl: "https://messaging.botpress.cloud",
      clientId: "<YOUR_CLIENT_ID>",
    });
  };
- 🛠️ make sure that you type on top of the layout.tsx "use client" to make it a client component.
You have successfully integrated your bot into your next.js 13 app! 🎉
If you are an agency owner working with botpress you should definitely check out ChatDash
If you found this content helpful ⇢