How to setup Supabase locally | 2024

- Published on
A few words on Supabase
Supabase offers a collection of powerful services like Postgres, Kong, GoTrue, and more, making it an excellent choice for building applications. The best part? Every component of the Supabase ecosystem is open source, providing you with the flexibility to host it yourself if you prefer not to rely solely on their hosted services, unlike some other platforms.
It's worth noting that Supabase doesn't have a traditional backend. Instead, we communicate directly with the database. Using policies, we can manage who has access to read, write, or edit information.This simplified approach eliminates an unnecessary layer of complexity. And if you require additional server-side functionality, edge functions can be utilized to achieve it.
In this tutorial, I will guide you through the process of setting up Supabase on your local development environment using Docker containers.
Why Local Development with Supabase?
Local development using Docker containers offers several advantages when working with Supabase
Sure, here are improved points based on real research about Supabase on the web:
Isolation:
- DevOps Efficiency: Docker containers streamline the development process by isolating your Supabase instance from your local environment, eliminating conflicts and ensuring a smooth development workflow.
Testing:
- Unparalleled Control: Local development with Docker containers provides unparalleled control over your testing environment, allowing you to replicate production-like conditions and thoroughly test your application's functionality without disrupting the live deployment.
- Real-time Feedback: The immediacy of local development with Docker containers enables rapid experimentation and feedback, allowing you to identify and rectify issues promptly, leading to a more robust and bug-free application.
Local Flexibility:
- Unleashed Productivity: Local development with Docker containers empowers you to work independently.
Now, let's dive into the step-by-step setup process.
Prerequisites
Before we get started, ensure you have the following prerequisites installed on your system:
- Supabase CLI: You can install it using Brew by running the following command:
brew install supabase - Docker Desktop: If you haven't already, download and install Docker Desktop for your operating system from the official Docker website.
Setting Up Supabase Locally
Inside the folder where you want to create your project, run:
supabase init
Now that you have the prerequisites installed, follow these steps to set up Supabase on your local machine:
This will create a new folder. It's safe to commit this folder to your version control system.
Now, to start the Supabase stack, run
supabase start
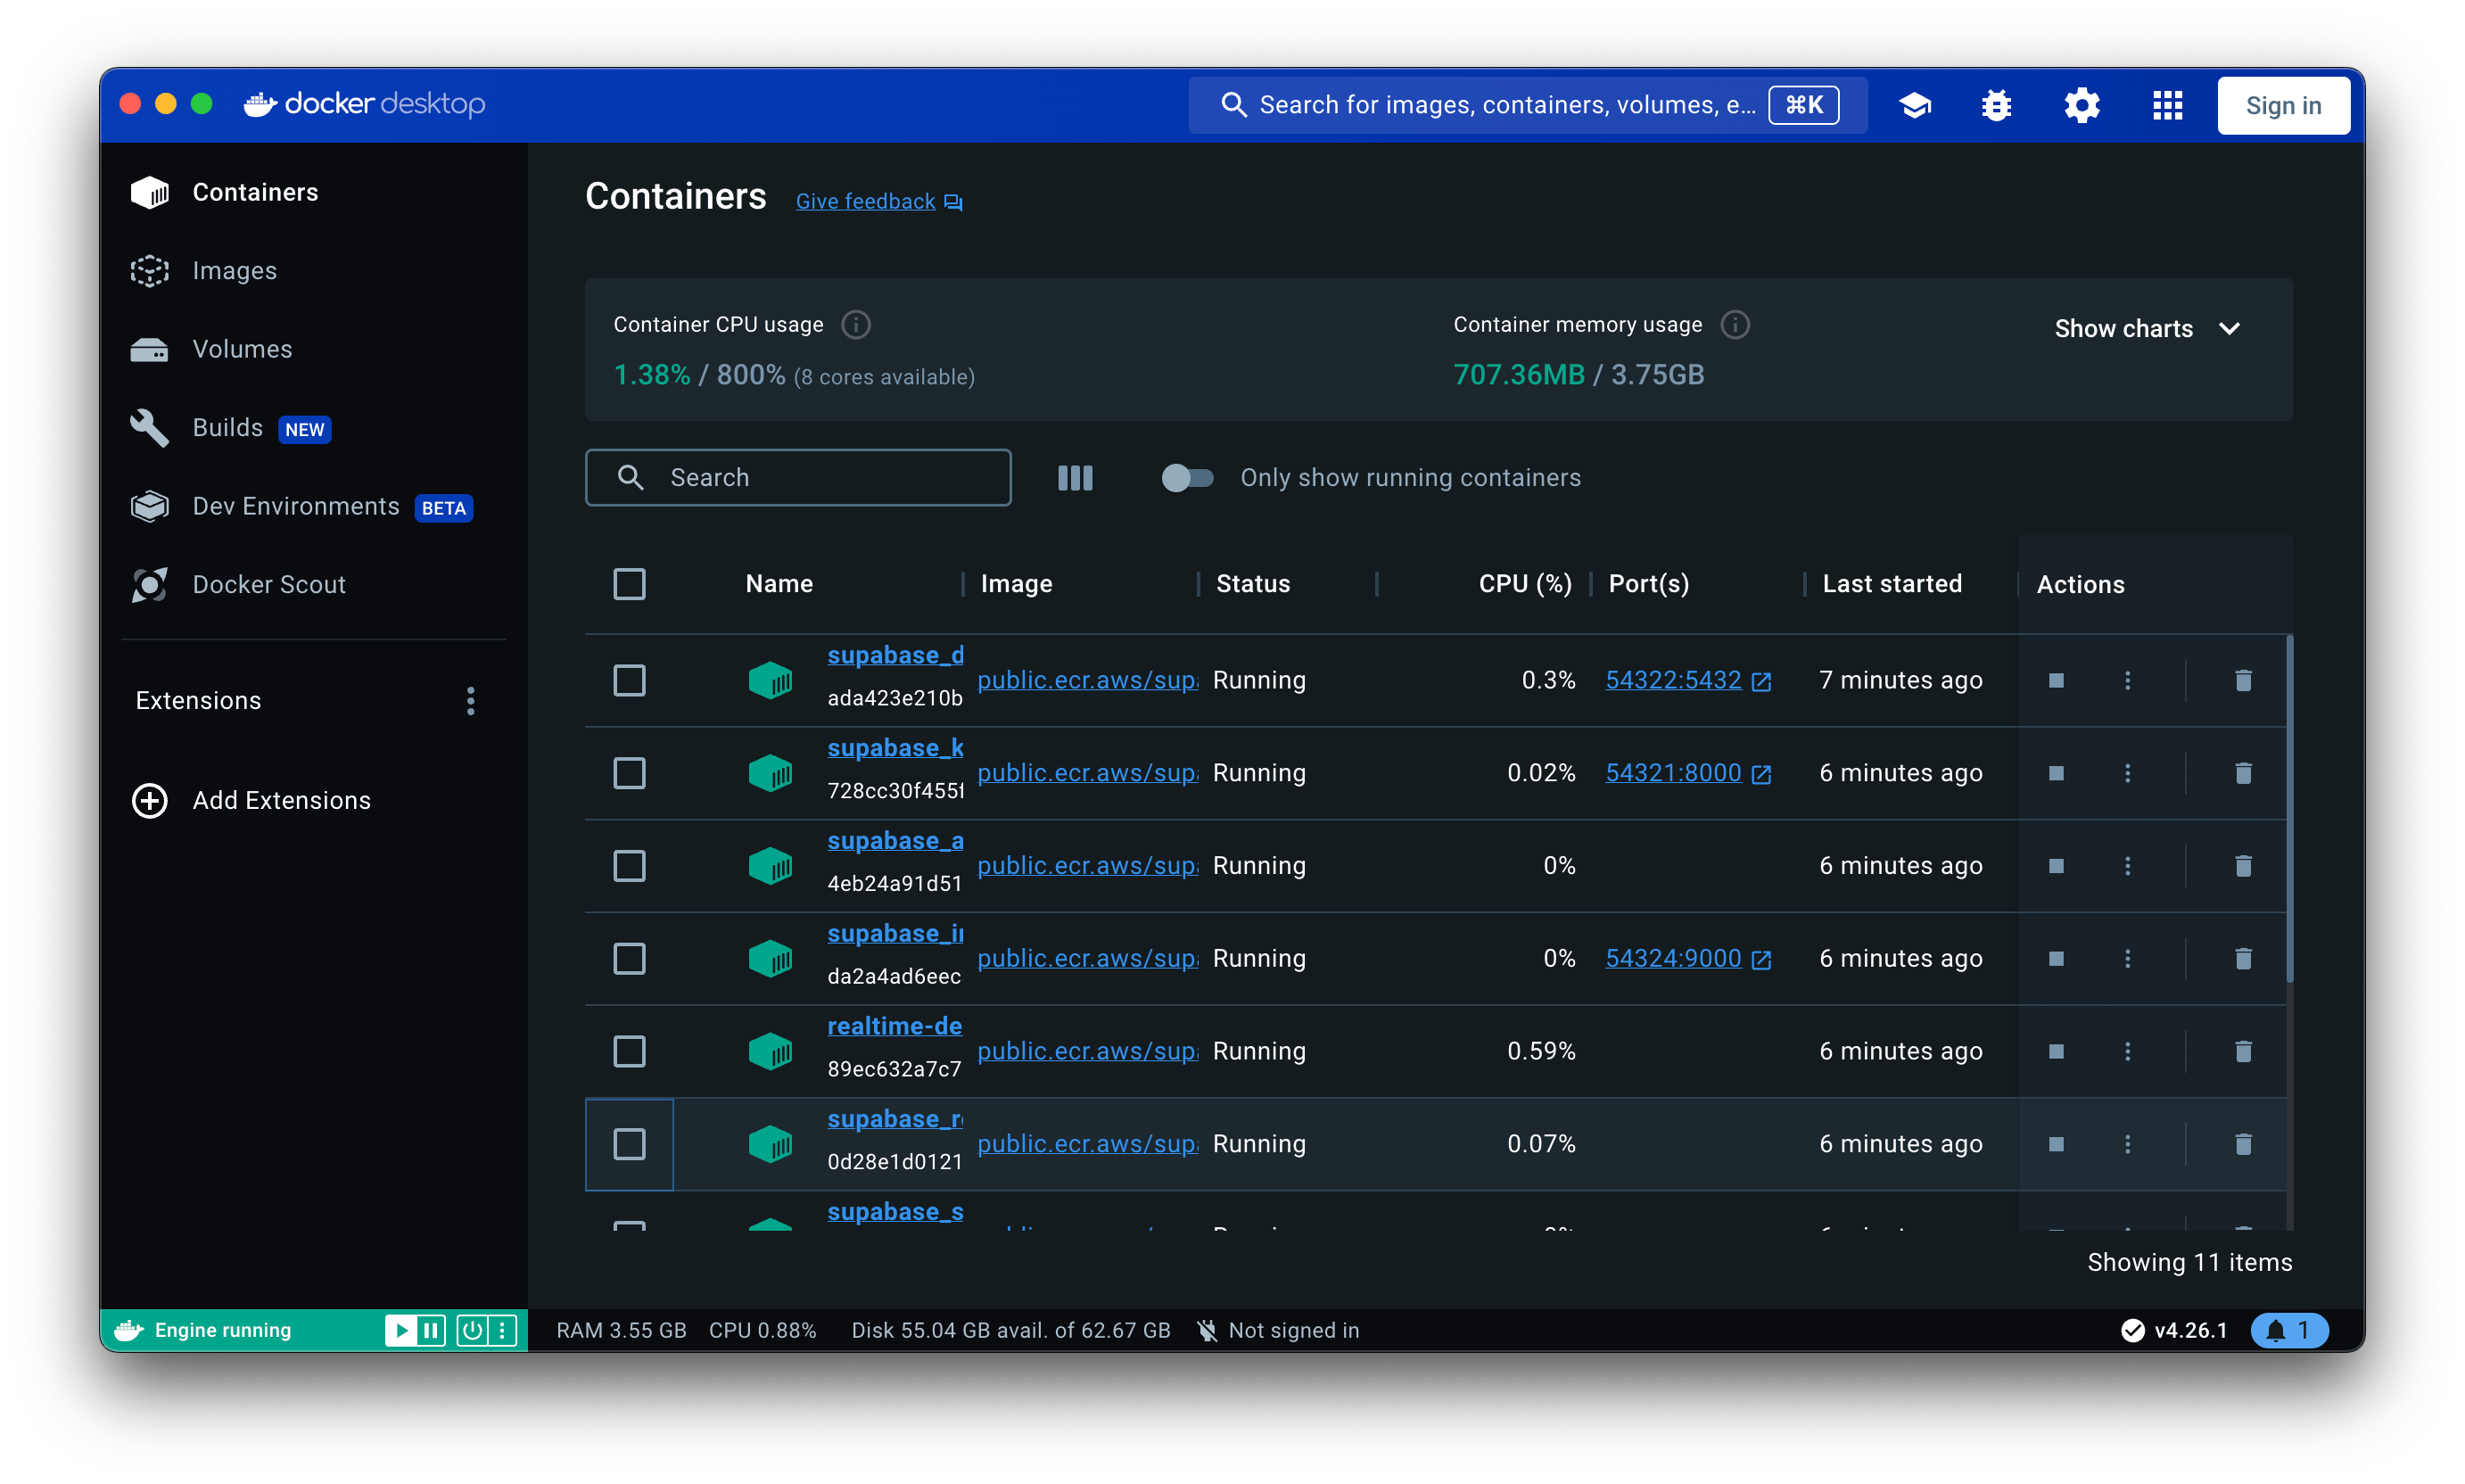
Supabase start will fetch and start all necessary docker containers
That's it! You now have a local Supabase development environment up and running. You can access your Supabase dashboard (http://localhost:54323), interact with your Postgres database, and utilize other Supabase features just as if you were using the hosted version.
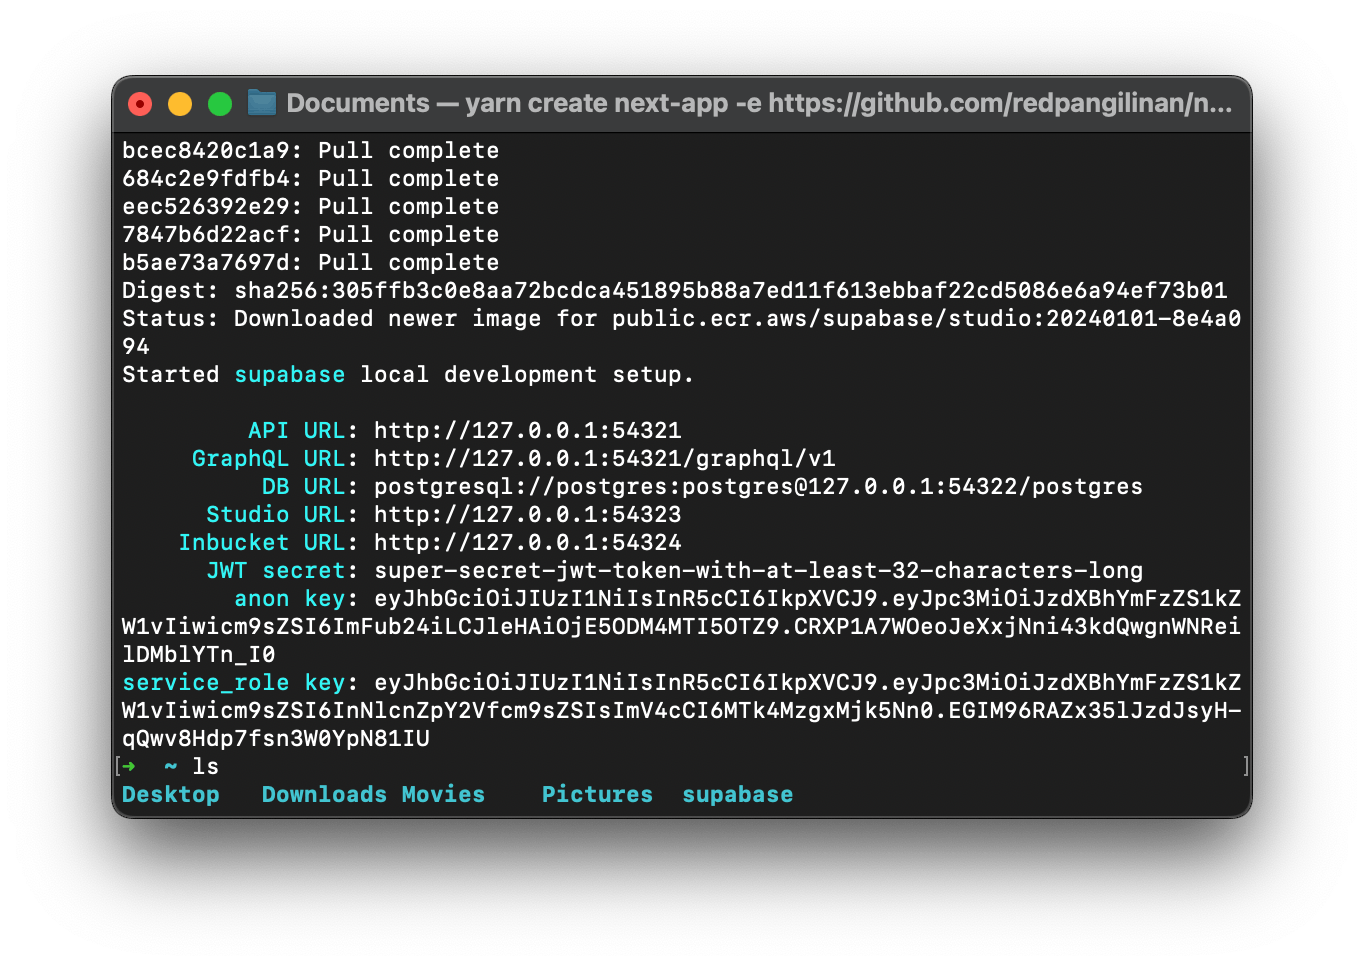
Supabase also provides you all the endpoints, the anon and secret key. Grab them and place them in your .env.local file / configuration
In case you need to get this information at some later time, just run the command supabase status
In this tutorial, we covered the basics of Supabase, explained why local development is beneficial, and guided you through setting up Supabase on your local machine using Docker containers. With this setup, you can comfortably develop and test your applications with Supabase in a controlled environment. Happy coding!
If you found this content helpful ⇢